


The holidays can sometimes put us in a bit of a pickle as parents. On one hand, we hope to instill a feeling of peace, magic, and wonder around this time of year and to take the focus off of consumerism. That said, there is much joy to be found in the act of giving, and our littles love to get in on that goodness. For this reason, and for the love of crafting, our tiny folk put on their maker (santa) hats and hand-craft the gifts they give over the holidays.
The following are a handful of DIY gifts that are practical, fun for kiddos to craft, and an enjoyable gift for adults or little friends to receive. Some of the projects are linked to more detailed instructions, and one even has a link to printable labels.
Each project has our family stamp of approval, having been test crafted by our crew!
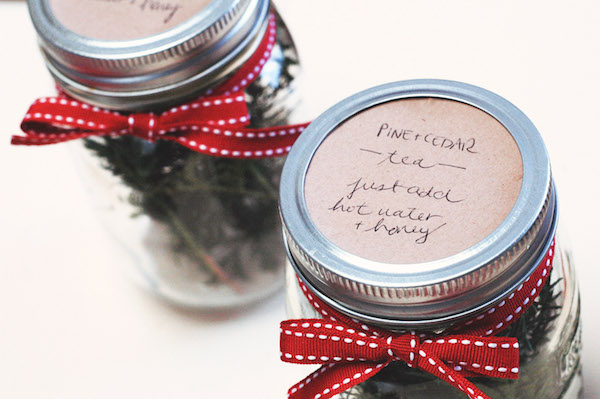
Herbal Tea Blends
This project could hardly be simpler, yet still comes with that rewarding I made it feeling.
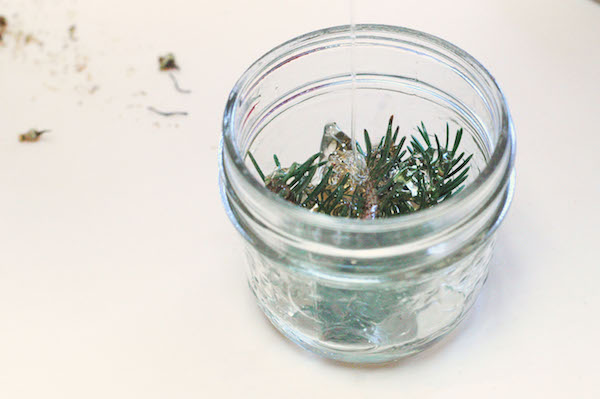
Chat about what combinations would be tasty, then fill your jars or tins with your chosen healing herbs! Add a label or tag with instructions for steeping if necessary. This is really so, so simple for little ones and truly a lovely gift. If you can get outdoors and collect some of your own herbs to include, even better. The rose hips shown were harvested by our youngest boys, then three and six years old. We made a lovely pine and cedar tea, as well as a rose hip, nettle, and elderflower blend. Get creative or look online for more ideas!
Materials
- tins or mason jars
- herbs – purchased from your local herb shop or wild-harvested by your family
- measuring spoons or cups, depending on the size of your container
- sticker labels or tags and festive string or ribbon, available at your local office/craft supply store
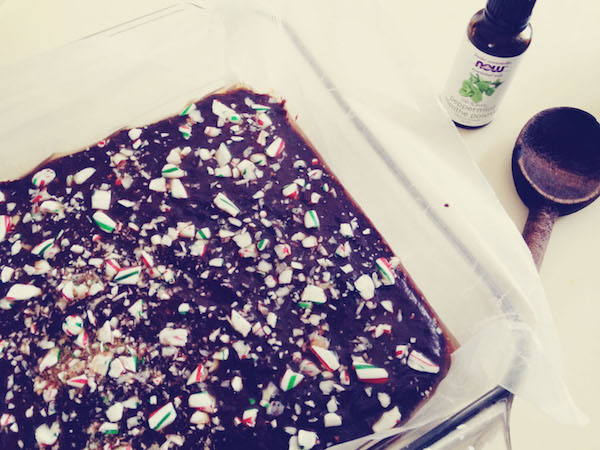
Simply Healthy Fudge
Don’t let the relatively healthy ingredients fool you - this is an incredibly decadent and delicious treat. Not to mention it is quick to whip up, even with your littles taking lead in the kitchen.
Materials & Ingredients
- boxes or tins for packaging (note: must be kept cool)
- dark, fair trade chocolate
- full fat coconut milk
- sea salt
- optional ingredients such as candy canes, nuts, and dried fruit
Directions
- Break up chocolate, if using a bar or baker’s chocolate.
- Place all ingredients in a double boiler. Melt over low heat.
- Add optional ingredients of your choice
- Pour into an 8x8 baking dish lined with wax paper.
- Add any desired toppings.
- Set in the fridge.
Optional ingredient ideas:
- candy cane / peppermint
- vanilla
- maple walnut (maple syrup + walnuts)
- pumpkin
- toffee + salt
- peanut butter (or sunflower butter, etc.)
- shredded coconut
- orange zest + macadamia nut
- white chocolate + cranberry
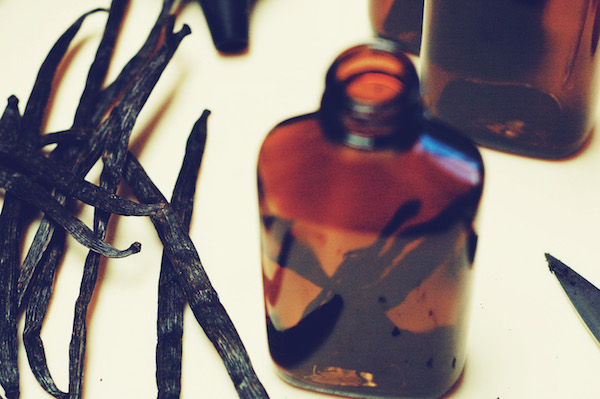
Homemade Vanilla
Another remarkably simple project that can leave you wondering why you didn’t try it sooner! Children who have some practice working with a knife can score the vanilla beans and almost all ages can take care of sliding the beans into the bottles and pouring the liquid through the funnel – so much fun! Get free printable labels from Tiny Peasant here.
Materials & Ingredients
- glass bottles and lids
- funnel
- organic vanilla beans
- vodka or bourbon (organic is great if it is in your budget – if not, an inexpensive bottle will do)
- knife and cutting board
Directions
- We have had success with 6 beans per cup of alcohol, though we have read anywhere from 3 to 8 per cup.
- Slice the beans not quite in half, lengthwise, allowing the flecks inside to escape and mingle with the alcohol.
- Slice the beans in half across their length if needed to fit into your containers.
- Drop the beans into the empty containers, making sure they don’t stick out.
- Using the funnel, pour the alcohol into the containers, leaving a bit of space on the top.
- Place in a dark cupboard for 6 – 8 weeks, giving it a shake each day, if you think of it. If you’re gifting before this time period is up, pass on these instructions to the recipient. Once the vanilla is used up, add more vodka to the bottle, and scraps of vanilla beans if you collect them while baking – or just add another whole bean.
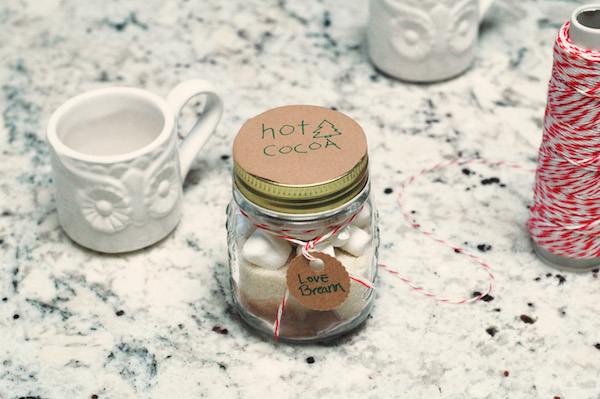
Hot Cocoa Kits
This year we decided to pack up our favourite hot cocoa recipe and gift it to others so they can enjoy goodness in a mug, too. Using a funnel to add the ingredients to the jars can add some extra fun, or just scoop the ingredients in using a simple spoon. If you choose to add marshmallows, be sure to put them on top, so they can be removed before the hot cocoa is made.
If you want to add a little something extra to this gift, consider a pottery mug or other mug suited to the recipient.
Materials
- small mason jars
- fair trade cocoa
- organic sugar (cane sugar, panela, rapadura, etc.)
- optional: cinnamon
- optional: marshmallows (there are now organic and vegan options on the market)
- festive string, twine, ribbon, paper for tags, sticker labels, pens, etc.
Instructions
- Fill your jars at a ratio of 1 tbsp cocoa powder to 1 tbsp sugar to 1/4 tsp cinnamon. Each 2 tbsp mixture is one serving of hot cocoa when paired with 1 cup of milk.
- Add in marshmallows, if desired.
- Pop on the lid and add your own handmade tags, labels and instructions
On the tag, you can write something like…
- Remove marshmallows (skip this if you don’t add marshmallows to your jars).
- Shake me up!
- Heat 2 tbsp mix + 1 cup of milk (you can choose if you specify a type such as coconut milk, milk, almond milk, etc.) over medium-low heat. Enjoy!
Infused Honey
Another mason jar lover’s project, with compliments to our favourite pollinators. There are a couple of ways your littles can make this gift; both options involve filling a mason jar of your desired size about two thirds with liquid honey. Next add the herbs you’d like to infuse into the honey (see list below). At this point, you can twine, tag and gift it along with instructions to strain the honey before use (after letting it infuse for a couple of weeks). Alternatively, you can infuse the honey and strain it before you twine and tag it to gift. Your choice might depend on how close to the holidays you’re reading this!
Materials
- small mason jars
- local honey
- herbs, such as:
- pine tips
- star anise
- dried licorice root
- dried orange peel
- dried rose petals
- mint
- cardamom
- cloves
- cinnamon stick


