Over the last two decades, recycling has become a part of life for many Canadian families. Recycling has several environmental and financial benefits: it prevents pollution by reducing the need to collect new raw materials, reduces the amount of waste sent to landfills, conserves natural resources, saves energy, and creates employment opportunities for our population. Though the goal is to reduce recycling in the first place, we're still sometimes left with bits and pieces we need to deal with.
Recycle at home and make seed paper
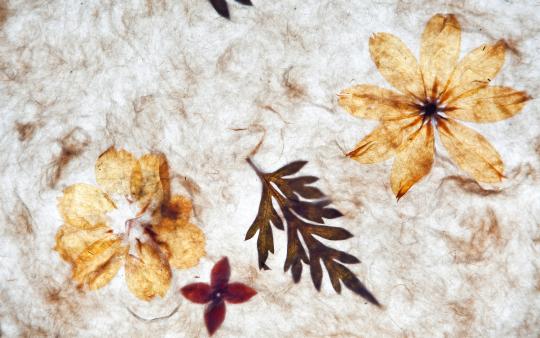
Creating seed paper is an educational and hands-on experience to learn about recycling, science, and the cycles of nature. You can use this activity to make anything you would like such as gift tags, thank you cards, recipe cards or even eco-friendly promotional flyers.
Here's a tip: When looking at your paper, make sure it does not have a sheen, as this means varnish has been applied and it should not be used for this project. You also want your paper to be completely bare of everything (no staples, glue strips, or any other foreign object). If you do find any of these, just remove them before you begin.
Materials for your seed paper
- Printer paper (used)
- Baking pan
- Measuring cup
- Mesh screen
- Wax paper
- Dishcloth & towel
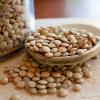
- Seeds: choose small, flat seeds. Flowers and herbs are great choices.
- Blender or bowl
- Picture frame (doesn't matter what size)
- Stapler & scissors
- Rolling pin (or you can substitute for a round jar)
- Iron
To make your seed paper
- Staple the mesh screen tightly across the frame.
- Cut, tear or shred the paper into small pieces and soak the paper in water overnight.
- Fill the blender with the paper and water (half full). Blend the paper until it is smooth. If you want to add colour to your paper you can add pulped berries or vegetables, flower petals, or herbs.
- Fill your baking pan one-quarter full of water and add the blended mixture to your baking pan.
- Add your seeds to the mixture and stir.
- Move the screened frame gently from side to side in the pulp mixture. You want to have an even layer of the paper mixture on the screen.
- Place the frame on your towel. You want to let water drain through it.
- Optional - You can sprinkle more seeds on top of the wet paper mixture and gently pat them on the surface.
- When you believe your mixture is dry enough (dripping has stopped), place the frame onto a dry dishcloth (pulp side down).
- Carefully lift the screen. The paper should drop out easily onto the cloth. Tap the screen with your fingers if paper does not fall out. If your paper mixture does not stick together, you may need to add more pulp on the screen next.
- Let the paper dry for at least 24 hours. If the paper is not flat, put a piece of wax paper on top of your paper and a heavy object on top to flatten it.
- You’re all done and it’s time to see your paper grow!
Plant it!
- You’ll need a pot to plant your seed paper. Fill it up with soil (make sure it’s not too hard-packed).
- Grab your seed paper and place it on top of the soil in your pot. Add another thin layer of soil on top of the seed paper.
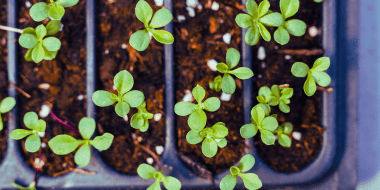
- Water your newly planted seed paper and set on a windowsill with good lighting. Depending on the species you plant, you should see your seeds sprouting in about 10 days.
There are multiple ways to make seed paper, and through much trial and error we found this to be one of our favourites! We hope you enjoy it!


