


These re-usable washable wraps are truly simple to make from organic fabric and natural beeswax. As a bonus, they also smell great! Read on to see how you can make your own at home.
We always want to be mindful about not only what food goes into our children's bodies, but also how that food is stored. Reusable plastic containers are lightweight, washable, and often inexpensive, it's true. But they are still plastic, with their known health implications. Glass and metal containers are a great healthier alternative but may not always be practical for small children or for quick snacks on-the-go. These wraps fit just right in any situation!
Materials
- ½ metre of organic cotton or linen – You may find that you need more but this amount will get you started with at least six lunch wraps.
- Beeswax – A small block is ideal but you can also finely chop or grate down several candles.
- Cheese grater or strong knife and chopping board
- Cookie sheet
- Parchment paper
- Pinking shears
- Oven
Method
Step 1
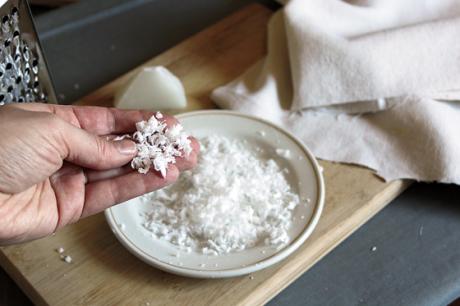
Use a cheese grater or knife to chop the wax as finely as possible.
Step 2
Gather at least two handfuls of wax for a cookie sheet-sized piece of fabric. Each fabric type will absorb the beeswax a bit differently.
Step 3
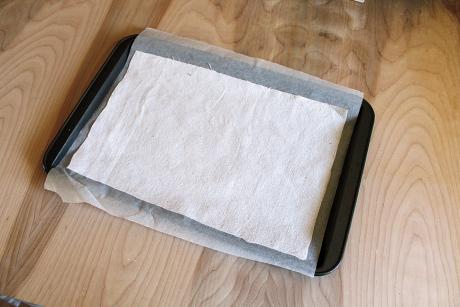
Preheat oven to 170°F. Lay a single sheet of parchment paper on your cookie sheet and place your fabric on top of it. You can cut your fabric to specific sizes beforehand if you wish, but it can always be cut afterwards as well.
Step 4
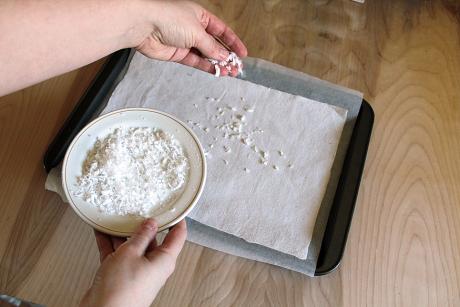
Sprinkle the beeswax evenly across the entire surface of the fabric, avoiding large clumps. You want to still be able to see fabric showing through the wax. Don't worry too much about missing spots - these can always be filled in later.
Step 5
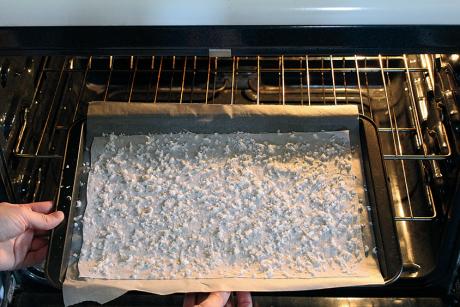
Once oven is pre-heated slide your cookie sheet in. The wax should take a maximum of 5 to 10 minutes to melt completely, and your kitchen will start to smell amazing!
Step 6
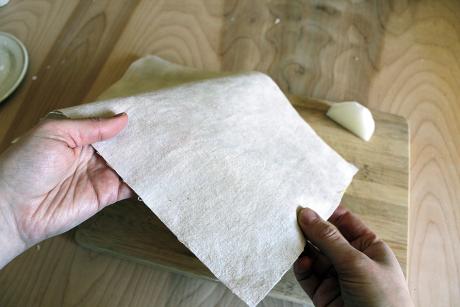
When the time is up, remove the pan from the oven and check your fabric. Lifting it to a window or light can help to reveal any areas that weren't soaked with wax. If you see those areas or want a thicker coating of wax simply re-apply gratings and heat again.
Waxed sheets can be hung to cool (it will only take a moment) or laid on a counter. At this point they're nearly ready to use!
Step 7
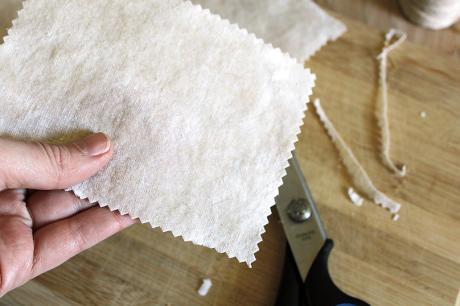
Cut the fabric to desired sizes (if you haven't done so already) and use pinking shears to finish the edges of your fabric to reduce fraying.


You can fold pockets for carrots, nuts and other snacks, and wrap sandwiches as well! We used a piece of twine to help ensure the wrapper stayed closed (and it’s a nice decorative touch).
Care and use of beeswax wraps
- These wraps are perfect for storing fruits, vegetables, grains and cheeses and keep wonderfully in the fridge where it's nice and cool. They are not recommended for meats.
- Gently wipe clean with cool water and a cloth. Warm water will cause the beeswax to melt out of the fabric. For this reason, the wraps are not suitable in the microwave, dishwasher or in high temperature environments.
- Refresh your wrap by repeating the original process. With proper use a single waxed wrap can last months or longer!
Happy healthy eating everyone!


